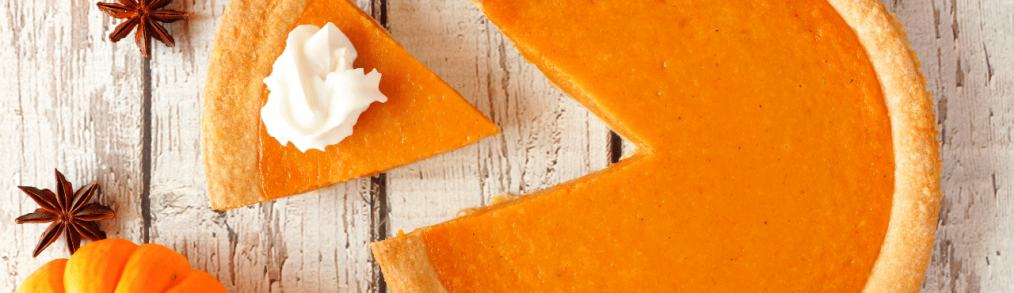
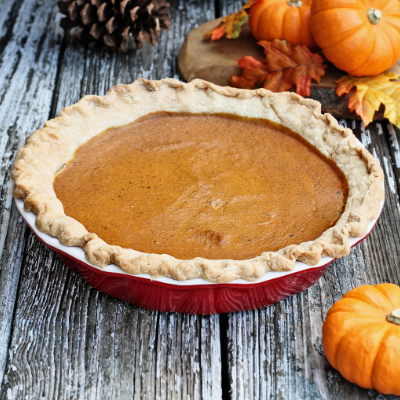
Making the Perfect Pumpkin Pie

Fond memories of the fall season and holidays typically revolve around the food that is shared amongst family and friends around the dinner table. The smell that fills the air with spices can be truly delightful, especially when your favorite pumpkin pie goes into the oven to begin baking.
 Many have said that the magic to a pie is in the crust. This is very true for many pies, but for a pumpkin pie, the filling is where the magic happens. In the pursuit of baking the perfect pumpkin pie, it’s important to have the right mix of ingredients. Too much pumpkin pulp, not enough sugar, or even too much sugar can ruin the final outcome of the pie. Let’s dive in to see what makes the perfect pumpkin pie.
So how do you make the perfect pumpkin pie, that’s well, easy as pie?
One of the challenges is the type of pan that’s being used. Ceramic, metal, and glass pans all behave differently. Crust by nature can be very finicky and is often best discovered by trial and error. Lastly, being that pumpkin pie is a custard, it makes it difficult to gauge doneness.
The Perfect Pumpkin Pie Recipe
Servings: 8-10 (Makes one 9-inch deep-dish pie)
Prep Time: 30 Minutes
Cook Time: 1 Hour 45 Minutes
Total Time: 2 Hours 15 Minutes, plus time to chill the dough and cool the pie
Ingredients for the Crust:
1-1/2 cups all-purpose flour spooned into a measuring cup and leveled with a knife
1 tablespoon sugar
1/2 teaspoon salt
1/8 teaspoon baking powder
6 tablespoons cold unsalted butter, sliced into 1/4-inch pieces
3 tablespoons cold vegetable shortening, in 4 pieces
4 tablespoons ice-cold water
Ingredients for the Filling:
1 (15-oz) can pumpkin (about 1-3/4 cups)
1 large egg
3 large eggs yolks
1/2 cup granulated sugar
1/2 cup light brown sugar, packed
2 tablespoons all-purpose flour
1/2 teaspoon salt
1 teaspoon ground cinnamon
1 teaspoon ground ginger
1/2 teaspoon ground nutmeg
1/8 teaspoon ground cloves
1/8 teaspoon ground black pepper
1-1/4 cups evaporated milk
Pumpkin Pie Instructions:
- Begin with the crust. Combine the flour, salt, sugar and baking powder in the bowl of a food processor fitted with a metal blade. Pulse a few times to combine.
- Add cold butter and shortening.
- Pulse until the mixture is crumbly with lots of chickpea-size clumps of butter and shortening within. These chunks of fat will steam as the dough cooks, creating a tender and flaky crust.
- Gradually add the ice-cold water to the dough, pulsing until the dough is just moistened. It won’t come together into a mass; it will be very crumbly. That’s what you want.
- Dump the crumbly dough out onto a work surface.
- Gather it into a crumbly ball. And shape it into a disc about 4-inches wide and wrap in plastic.
- Refrigerate for at least 45 minutes — this allows the gluten to rest, which makes a tender dough less prone to shrinkage.
- Dust a work surface with flour and roll the dough into a 14-inch circle, dusting with more flour as necessary so it doesn’t stick. It will have a marbled appearance.
- Drape the dough over the rolling pin and transfer it to the pie pan. Fit it into the pie pan, easing it inwards rather than stretching it outwards.
- Patch any tears, then trim the edges to about 1/2-inch beyond the lip of the dish. Fold the dough under itself along the rim, building it up.
- Next, press the edges down against the rim — this will help the crust stay put as it bakes. Otherwise, it’s prone to slip down the edges of the dish, especially if you use a glass or ceramic pie pan.
- Crimp the edges with your fingers or press with the tines of a fork.
- Place the crust in the freezer to chill while you preheat the oven. As mentioned above, it’s important to “blind bake” your crust before filling it, otherwise, the wet filling prevents the bottom of the crust from cooking, leaving you with a raw, doughy bottom crust.
- To blind bake the crust, cover it with a sheet of parchment paper and fill it halfway with dried beans or pie weights. This will hold the crust in place and prevent shrinkage. Cook for 20 minutes until the crust is set. Remove the parchment and beans, then tent the edges with strips of aluminum foil to prevent them from browning too much.
- Bake for another 20 minutes, until the crust is golden and completely cooked. This is long compared to most recipes but the crust won’t cook any more once you add the filling, so it’s important to make sure it’s flaky and crisp.
- While the crust finishes cooking, make the filling by combining all of the ingredients in a large bowl. Whisk until smooth.
- Add the filling to the cooked crust.
- Bake for 50-60 minutes, or until just set — it should look dry around the edges and set in the center, but if you nudge the pan, the center should jiggle slightly.
- The pie will look a little puffed when it comes out of the oven, but it will settle as it cools. Let cool to room temperature before slicing. Enjoy!
To see pictures and read more, click here to see Jenn Segal’s recipe.
Now it’s time to make that perfect pumpkin pie this holiday season! Time to hurry on over to the Alto-Hartley showroom to pick up any kitchen supplies you may need to make the perfect pie! Don’t have time to stop in? Shop online with us!